

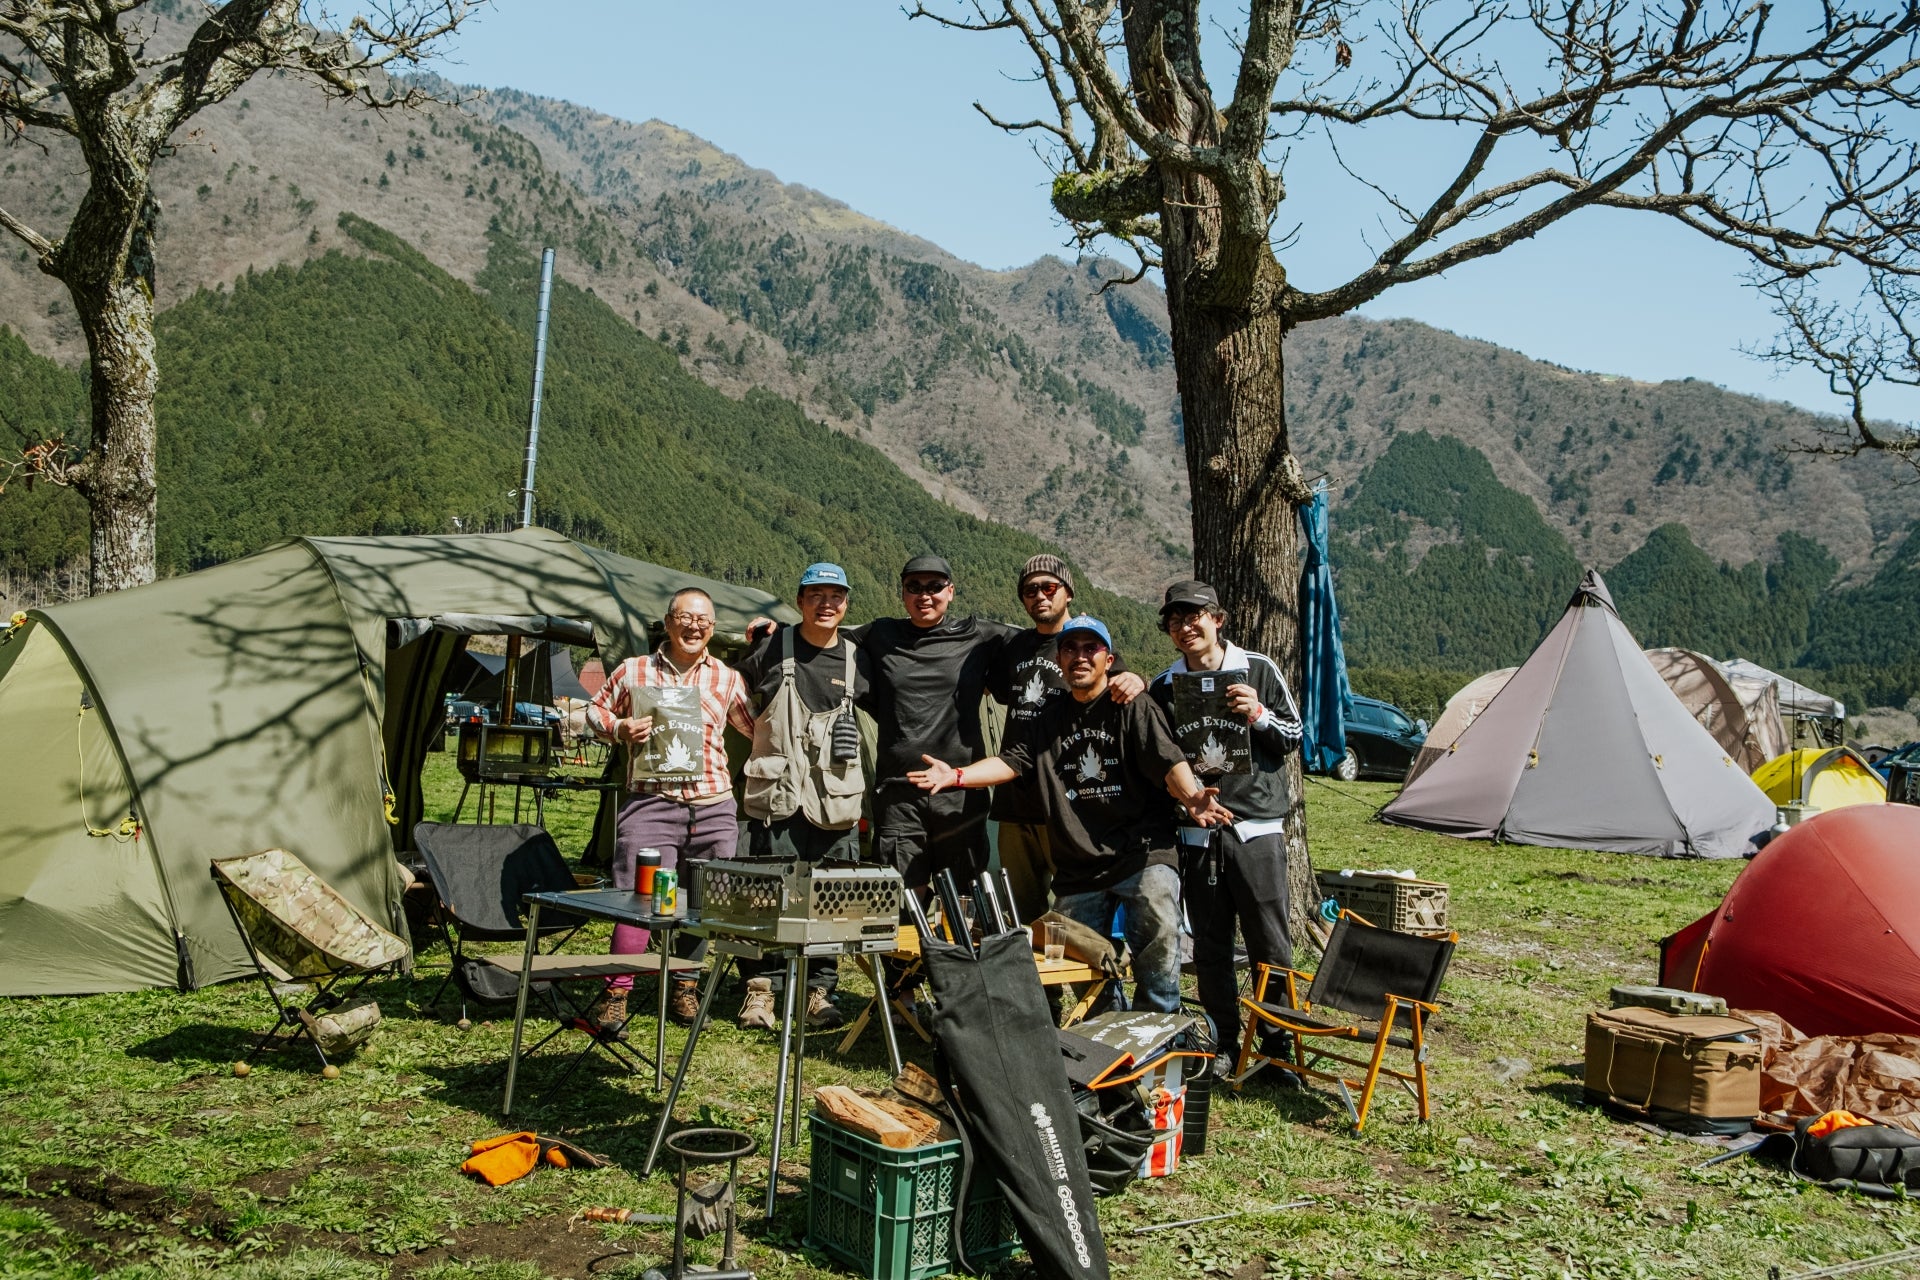
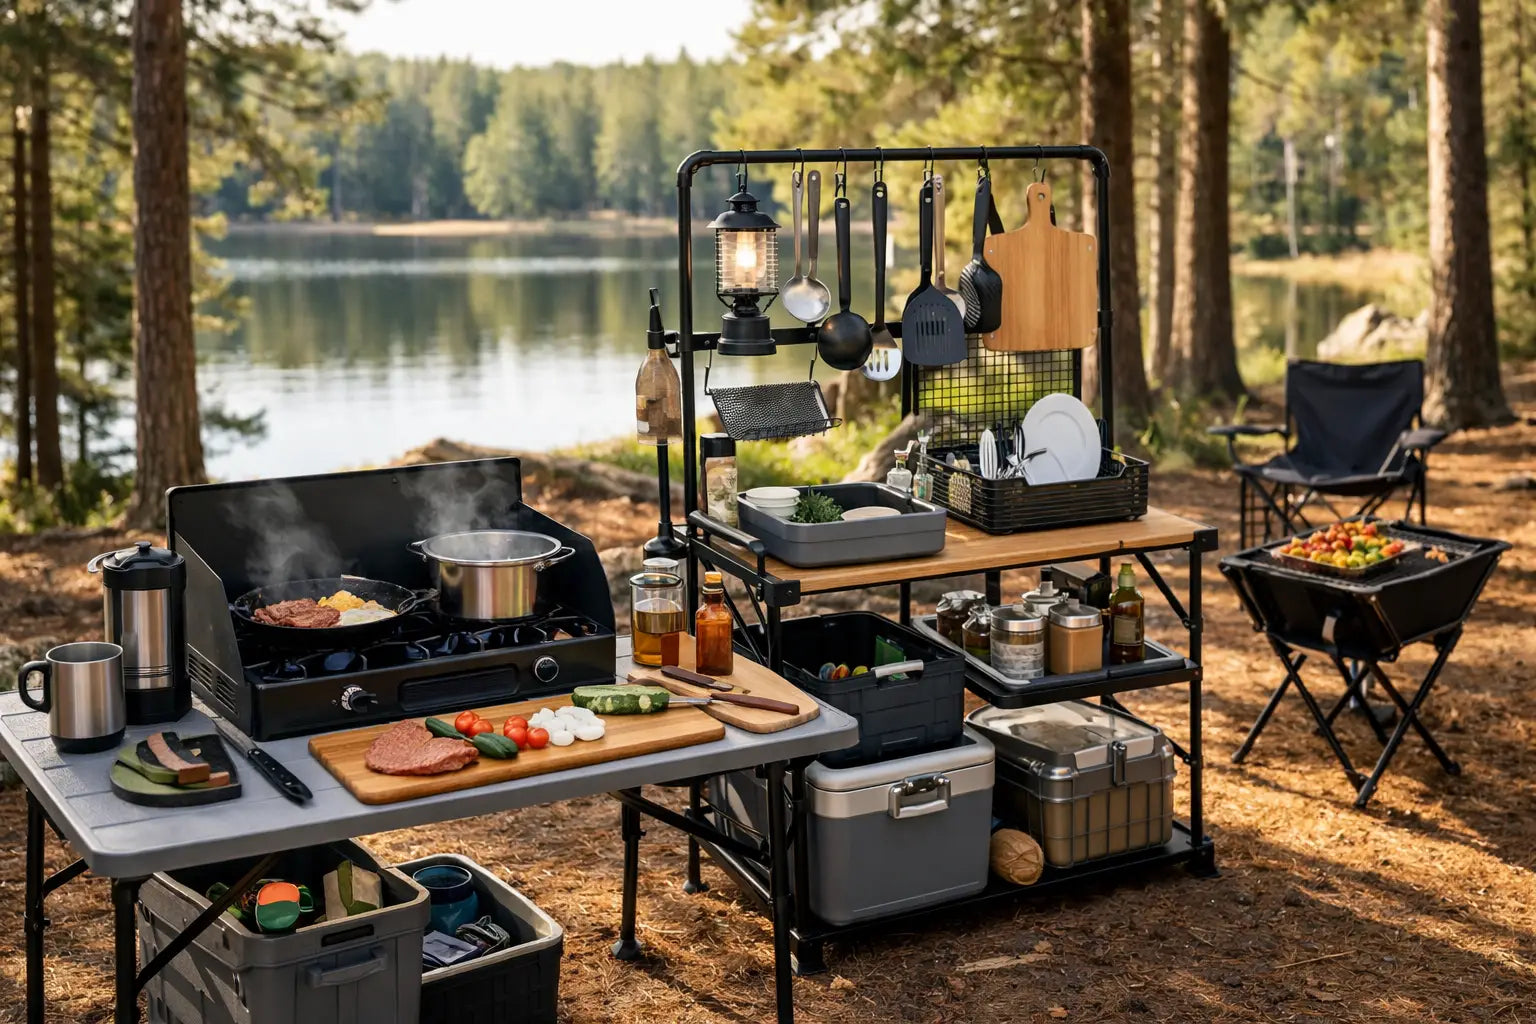
A camp meal feels different when no one is balancing a cutting board on a cooler or searching for a lighter after sunset. The best camp kitchen setup ideas do more than make cooking easier. They give the campsite a center of gravity - a place where the fire is managed, dinner comes together, and people naturally stay a little longer.
A capable setup does not require packing a full backyard onto the trail. It requires a few deliberate decisions about layout, heat, storage, and flow. Start with the experience you want to create, then choose equipment that earns its space.
1. Choose the Kitchen Site Before Unpacking
Set your kitchen where the ground is level, the wind is predictable, and traffic can move around it without crossing the cooking zone. A beautiful view is a bonus, but a spot that sends smoke through every chair is not. Look for enough room to separate the fire, prep surface, and seating without making the cook feel isolated from the group.
Keep food prep well away from tent doors and sleeping gear. If you are in bear country, follow local food-storage rules and do not treat the kitchen as a pantry overnight. At any campsite, clear dry leaves, grass, and loose debris from around the fire area before cooking begins.
Build a simple work triangle
Think in three points: cold storage, prep, and heat. Your cooler or food box should be close enough to reach without walking across camp. Your prep table sits between storage and the fire or grill. The cooking source stays at the edge of the work zone, with clear space for turning, tending, and safely setting down hot tools.
This small triangle prevents the familiar camp ritual of opening the cooler ten times while dinner slowly burns. It also gives two people room to work together without constantly trading places.
2. Create a Real Prep Surface
A folding camp table is one of the highest-value pieces of kitchen gear you can bring. It gives knives, ingredients, plates, and cookware a clean home off the ground. Choose a stable model with a wipeable surface and enough depth for a cutting board plus a small ingredient tray.
If space is tight, do not chase a huge tabletop. A compact table paired with a lidded storage bin can be more useful than one oversized surface. The bin carries gear on the road, then becomes a side station for coffee supplies, dry goods, or clean dishes.
Give every tool a landing place
The difference between a polished camp kitchen and a scattered one is often just a small tray. Use one heat-safe tray beside the grill for tongs, gloves, a brush, and a thermometer. Keep another shallow bin at the prep table for salt, oil, spices, and the knife sheath.
When tools return to the same place, cooking stays calm. More importantly, fewer sharp or hot items disappear into the dirt when the light starts to fade.
3. Make Fire the Cooking Engine, Not the Obstacle
Live-fire cooking is most rewarding when the fire is controlled rather than merely impressive. A dedicated wood stove or adjustable fire pit can create a more defined cooking zone than a loose campfire, while helping keep wood, ash, and cookware organized.
A modular system is especially useful for campers who want to shift between an open flame, a raised grill surface, and a social fire after dinner. WOOD&BURN's Landmark approach reflects that idea: one considered fire center can support cooking, warmth, and gathering instead of asking you to pack separate solutions for each.
Cook with zones, not one giant flame
Build a fire with a strong coal bed and a smaller active flame. Direct heat is excellent for fast searing, blistering vegetables, and getting color on skewers. A cooler edge or raised grate handles thicker cuts, foil packets, and pots that need steadier heat.
The trade-off is time. Charcoal and wood ask for more attention than a gas burner, especially in wind or rain. For a multi-course dinner, pairing live fire with a compact backup stove can be practical. Use the fire for the food that benefits from smoke and high heat, then let the burner handle coffee, sauces, or a quick morning breakfast.
4. Plan Meals Around the Equipment You Brought
The smartest camp menu is not the most ambitious one. It is the one that matches your heat source, water supply, and cleanup capacity. Choose ingredients that can share a grill surface or one pot, and prep at home when it will improve the evening rather than diminish the ritual.
A good first-night meal might be marinated chicken, peppers, flatbread, and a simple salad packed in a container. Everything can be grilled or assembled quickly, leaving more time at the fire. For a longer trip, reserve the more involved meal for the night when camp is established and you know how the site behaves after dark.
Use one-pot and one-board logic
Limit the number of pans and boards in rotation. If vegetables can be chopped before raw protein, do that. If a pot can boil water for pasta and later hold a warm sauce, use it twice. Camp cooking becomes more enjoyable when the setup supports the meal instead of creating a stack of dishes nobody wants to wash.
Bring a cast-iron skillet only if you will use it. It performs beautifully over coals but adds meaningful weight and needs drying before storage. A lighter stainless pan may be the better choice for car campers who value speed and simple cleanup.
5. Separate Clean and Dirty Water
Water management is where many otherwise thoughtful camps unravel. Bring one container for clean water and another designated basin for dishwater. Set them on a small stand or the end of the table instead of placing them on the ground, where sand and pine needles find their way into everything.
Wash dishes in three stages: scrape food into the trash, wash with biodegradable soap in a basin, then rinse in a separate basin. Dispose of wastewater according to campground rules. “Biodegradable” does not mean it belongs beside a creek or under your picnic table.
Keep a dedicated handwashing station near the kitchen, too. A water jug with an easy-pour spout, soap, and a quick-dry towel encourages everyone to clean up before touching shared food.
6. Build Storage for the Moment You Need It
Camp storage works best when it is organized by task, not by whatever fit in the nearest bag. Keep breakfast together, cooking tools together, and cleanup supplies together. Clear bins make this easier, but labels on opaque boxes work just as well.
Dry food needs protection from weather and curious animals. Coolers need shade, limited opening, and a plan for melting ice. Place trash downwind of the dining area and secure it before bed. These details may not look dramatic in a campsite photo, but they preserve the comfort of the entire experience.
Pack a fast-access drawer
The items used every day should never live at the bottom of a tote. Create a small fast-access kit with a lighter, fire starters, headlamps, a first-aid kit, gloves, trash bags, paper towels, and a compact repair tool. This is the equipment that saves the evening when rain arrives, a tent stake bends, or dinner runs later than expected.
7. Light the Kitchen, Not Just the Campsite
One bright lantern in the middle of camp creates glare and shadows exactly where you need precision. Instead, layer the light. Put a focused lantern or rechargeable task light above or beside the prep area, then use warmer, lower light around the seating zone.
A headlamp remains essential for checking doneness, washing dishes, and walking away from the fire safely. Choose one with a low setting so you are not shining a white beam into every conversation. Good camp lighting should make the work easy while allowing the fire to keep its atmosphere.
8. Leave Space for People
The kitchen should invite company without turning guests into obstacles. Place chairs just outside the active cooking zone, ideally with a view of the fire and an easy path to drinks or serving dishes. A small side table near the seating area gives people somewhere to set a mug instead of balancing it on a cooler lid.
This is where a considered setup becomes more than efficient. The cook can stay part of the conversation. Friends can offer a hand, watch the coals, or simply gather near the warmth. Dinner does not need to be perfect to become a place you'll always remember.
Before the next trip, test your kitchen at home with the gear you actually plan to bring. Set up the table, light source, cook system, and storage bins in the backyard or driveway. You will quickly see what is missing, what is redundant, and what deserves a permanent place in the kit. Then, when camp is quiet and the fire is ready, your attention can stay where it belongs: on the food, the flame, and the people around it.
Share:
Wood Burning Stove Flame Control Made Simple
Choosing a Portable Fire Pit for Tailgating