

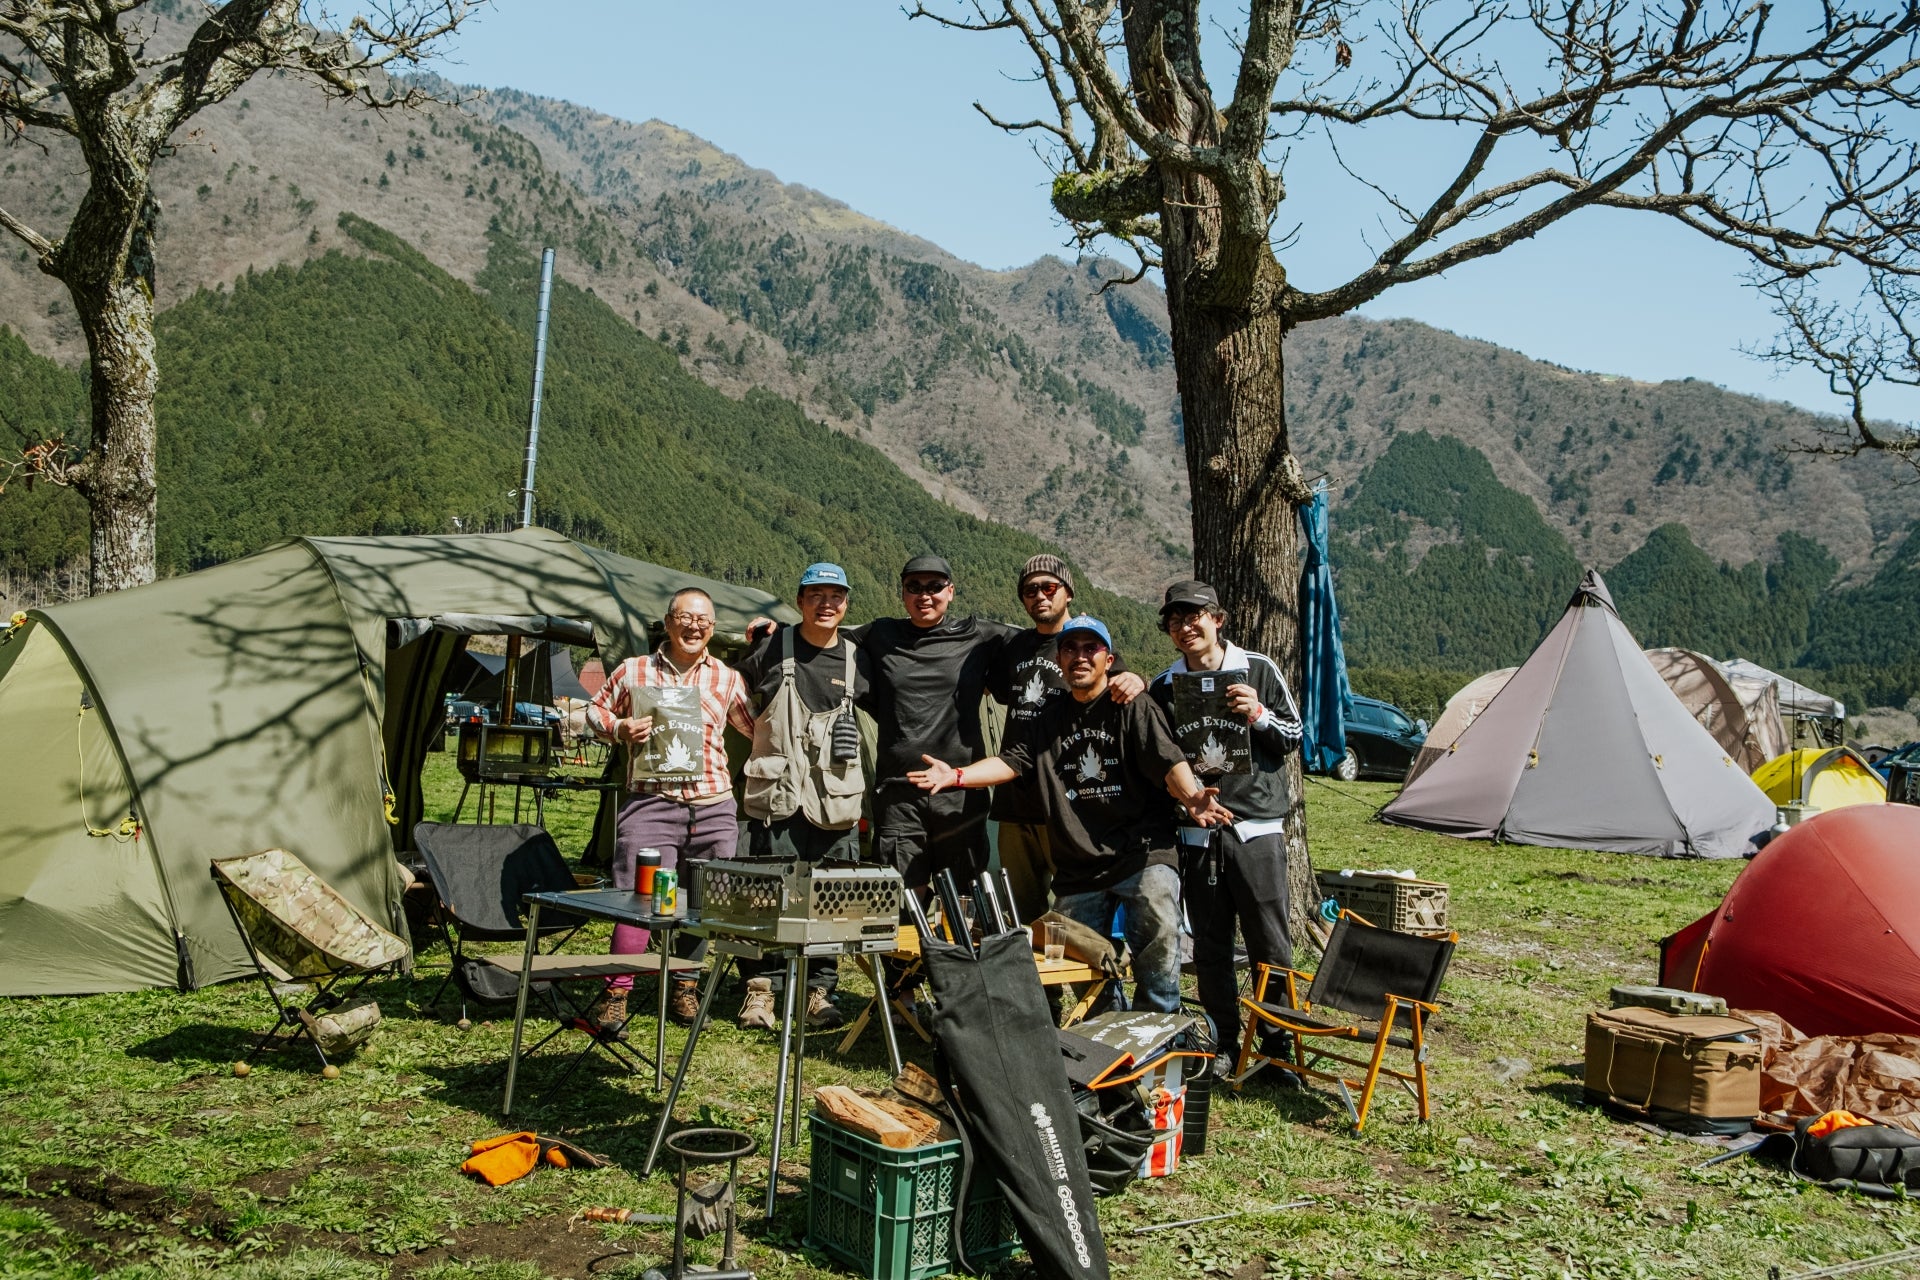
A good campfire can make a remote pullout feel like a place you'll always remember. A bad one leaves you chasing smoke, crouching over uneven coals, and packing dirty, awkward gear back into the truck. The difference is rarely the fire itself. It is the overlanding fire pit setup around it: where it sits, how it breathes, what it can cook, and how quickly it returns to the vehicle when morning comes.
For overlanders, every piece of equipment has to earn its space. A fire pit should do more than hold logs. It should create dependable warmth, give dinner a proper place to cook, and draw people in without turning camp setup into a production.
Start With the Ground, Not the Gear
The best fire pit in the world cannot overcome a poor campsite choice. Before unloading anything, read the site. Look for a level, mineral-soil surface with generous clearance from grass, brush, low branches, tents, awnings, fuel containers, and vehicles. Wind direction matters as much as the view. Position the fire where smoke will move away from the seating area and where sparks have the least chance of finding dry vegetation.
Local conditions set the real boundaries. Fire restrictions, wind advisories, burn bans, and campground rules always come before the evening menu. In some places, a contained, elevated pit may be permitted when a ground fire is not. In others, no open flame is acceptable at all. Check before you leave pavement, and bring a no-fire dinner plan for nights when the answer is no.
Once a location is approved, make the footprint intentional. An elevated fire pit protects the ground and keeps the burn zone defined, but it still needs stable support. Clear loose rocks, sticks, and duff from beneath and around it. If the soil is soft or sloped, move on rather than trying to force a level surface with improvised blocks. A clean, stable base is quieter, safer, and far more pleasant to cook over.
Build an Overlanding Fire Pit Setup in Zones
A campsite works better when the fire is not asked to do everything from one crowded circle. Think of it as a small outdoor room with distinct zones: the fire and cooking area, the seating area, the wood supply, and the vehicle or tent zone.
Keep seating close enough for warmth but outside the space where someone tending the fire needs to move. Chairs should face the flame without forcing knees toward hot metal or putting gear directly behind them. Put the woodpile upwind and a short walk away. This keeps bark, dirt, and loose kindling out of the social space while giving the fire tender an easy path back and forth.
Your cooking surface deserves its own working edge. A grill grate, side shelf, or adjacent camp table gives you a clean landing spot for tongs, oil, plates, and a hot skillet. Without one, cooking becomes a series of compromises: tools on the ground, food balanced on coolers, and someone holding a pan while the fire flares. The goal is not a sprawling camp kitchen. It is a compact arrangement that lets one person cook while everyone else can still gather comfortably.
A modular system has a particular advantage here. At arrival, it can serve as a compact fire pit. At dinner, it becomes a grilling station. After the meal, the cooking accessories come off and the fire returns to its simplest role: warmth and a center for conversation. That shift is what makes a refined fire pit more useful than a single-purpose piece of camp hardware.
Choose Fire Control Over Fire Size
The instinct to build a large fire is understandable, especially after a long drive. But a bigger flame is not automatically warmer, cleaner, or better for food. In an overlanding camp, control is more valuable than spectacle.
Start with dry, appropriately sized fuel. Use small kindling to establish a bed of coals, then add split logs gradually. A fire pit with thoughtful airflow helps the fire burn more efficiently, but airflow is not permission to overload it. Leave room for oxygen to move, and resist stacking wood high enough that sparks and rolling logs become part of the evening.
For warmth, keep the fire moderate and feed it steadily. For cooking, let flames settle until you have even coals. This is the moment many camp meals improve. A live flame looks dramatic, but steady radiant heat is what gives vegetables color, cooks a steak with confidence, and lets a cast-iron pan do its work without blackening everything underneath.
Adjustability matters because no two jobs ask the same thing from the fire. A grate set higher above the coals gives you gentler heat for chicken, fish, or a pot of beans. Lower it when you need a stronger sear. If your setup allows the grill position to change without dismantling the entire fire, you can respond to heat rather than hoping dinner works out.
Pack for the Fire You Actually Want
The most capable setups are not overloaded. They are complete in the right places. Beyond the pit itself, carry a dedicated lighter or matches in a waterproof case, kindling, a fire tool or poker, heat-resistant gloves, and a metal container for ash only when it is fully cold. Keep water and a shovel within reach, not buried in the truck.
For cooking, choose a small set of tools that work across meals. Long tongs, a spatula, a brush, and a pair of gloves cover most grilling. A cast-iron skillet or griddle adds range without demanding a separate stove for every recipe. The point is not to recreate a home kitchen at the trailhead. It is to make fire cooking feel deliberate rather than improvised.
There is a trade-off between a fully loaded cooking system and a lighter travel kit. If your route involves frequent camp changes, narrow trails, or limited cargo capacity, prioritize a pit that packs compactly and deploys quickly. If you are establishing a basecamp for several nights, dedicated grill accessories and a larger prep surface become more worthwhile. Let the trip determine the configuration.
Make Smoke and Ash Part of the Plan
Smoke is not an inevitable badge of campfire authenticity. Wet wood, poor airflow, and an overloaded burn chamber create most of it. Buy seasoned firewood near the area where you will burn it when regulations require it, and keep that wood covered from rain and morning dew. Avoid collecting questionable fallen wood from the campsite. It may be damp, protected, or simply poor fuel.
Ash management begins before the first spark. An elevated pit makes cleanup easier because it contains the burn area, but you still need to let ashes cool completely. That can take much longer than expected, especially after a substantial evening fire. Never rush the process because checkout time is approaching.
In the morning, spread remaining coals only if local rules and the site allow it, then drown, stir, and repeat until everything is cold to the touch. Pack out any ash when required. Leave the ground looking like a gathering happened there, not like a fire scar will remain after you are gone.
Let the Fire Set the Pace
A well-designed fire pit changes the rhythm of camp. It gives arrival a purpose beyond unloading bins. Someone splits kindling. Someone seasons vegetables. Someone pulls chairs into a loose circle as the first flames take hold. The setup becomes part of the ritual, not another chore between the drive and dinner.
WOOD&BURN approaches that moment as more than a heat source. A fire system should be compact enough for the road, composed enough for a considered campsite, and adaptable enough to move from open-fire cooking to a quiet late-night burn without adding clutter.
The best overlanding fire pit setup is not the largest or the most complicated. It is the one that fits your vehicle, respects the place you camp, and makes it easy to stay outside a little longer. Build for that feeling, and even a simple dinner under a dark sky can become the part of the trip everyone talks about on the drive home.