

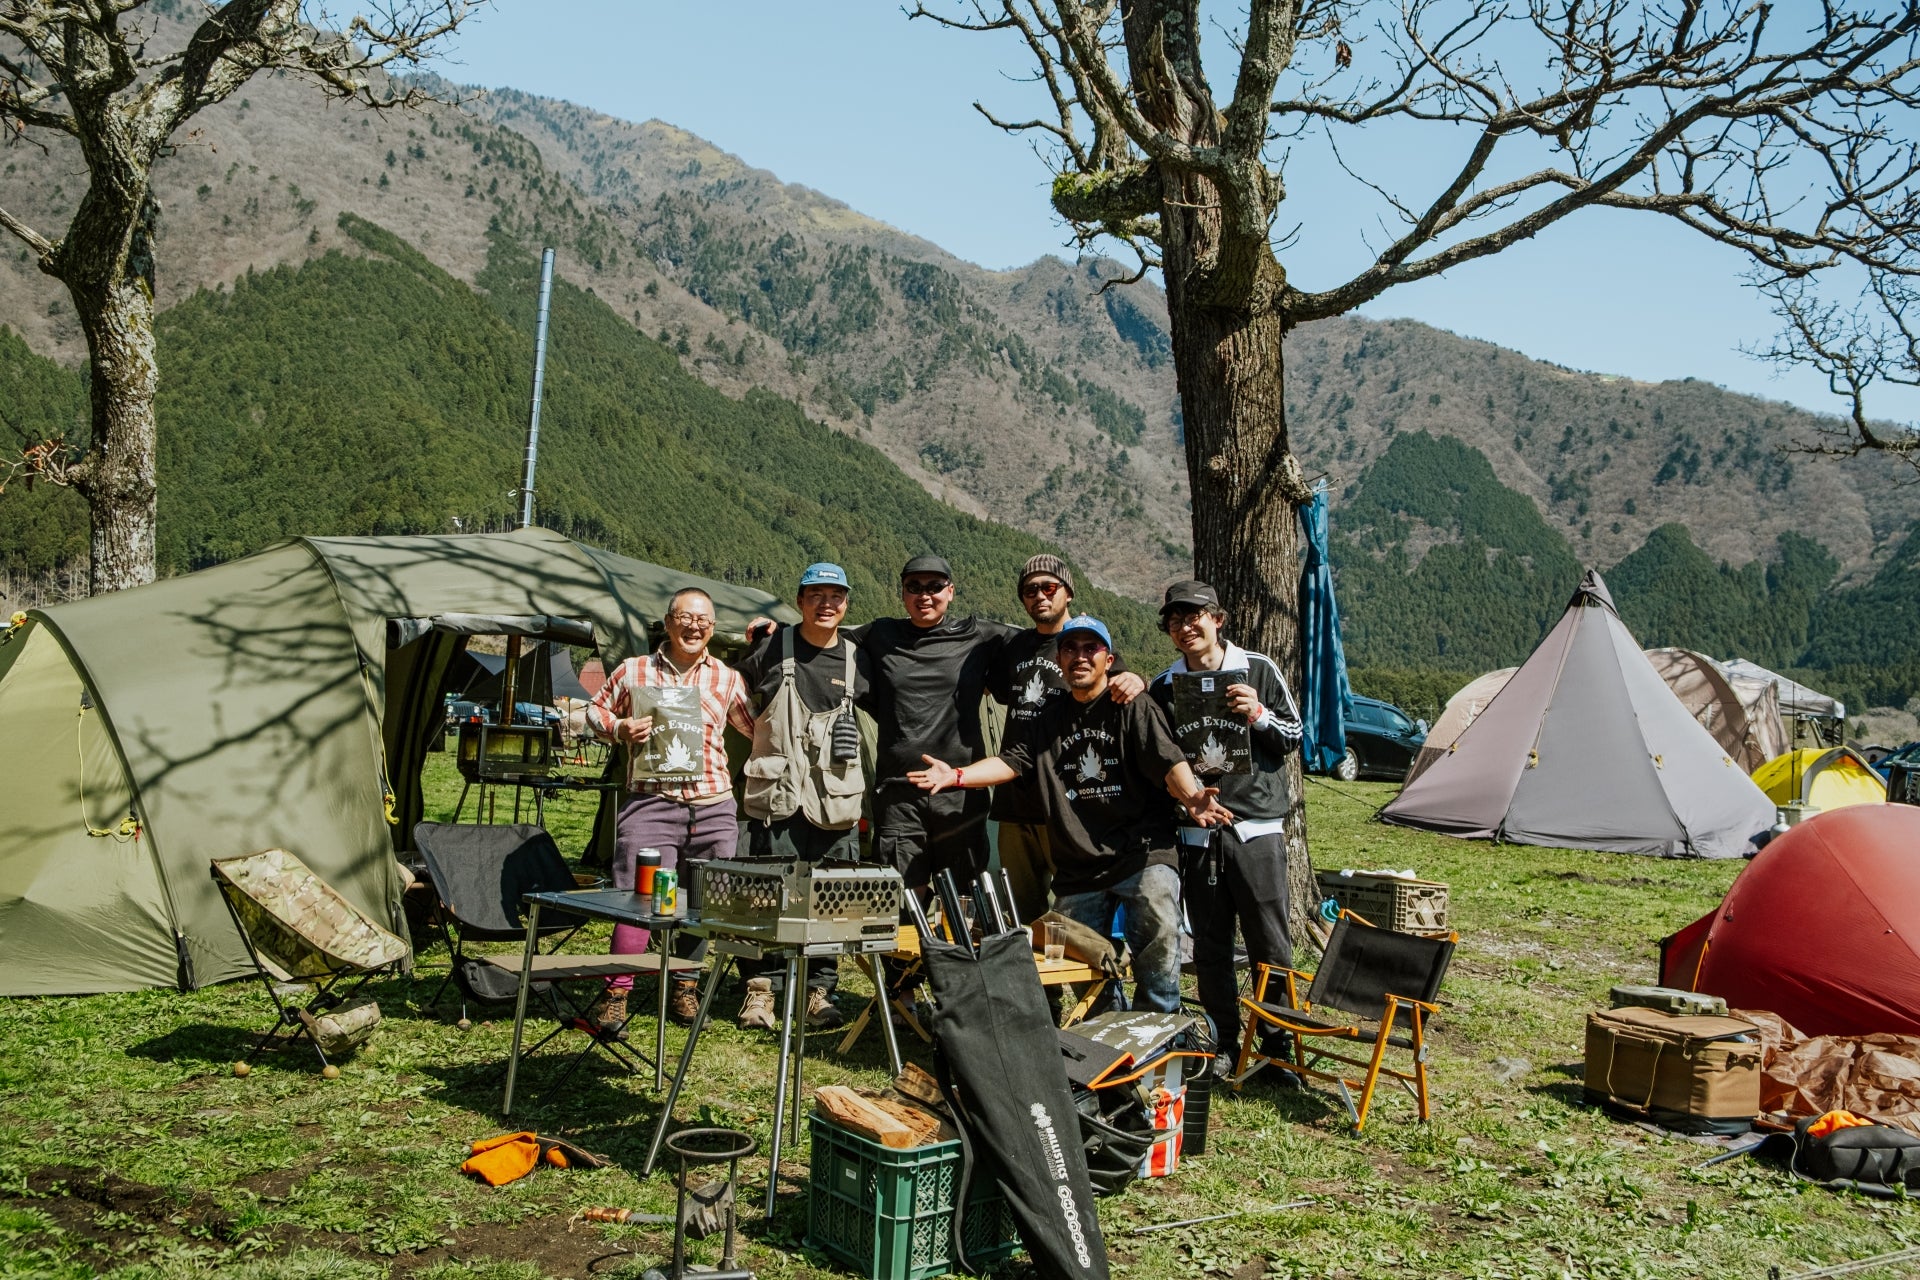
A fire pit can turn an ordinary pullout, backyard, or open campsite into a place you'll always remember. But the best part of the evening depends on the first few minutes. When you assemble a portable fire pit with care, the structure feels solid, the fire gets the air it needs, and everyone can gather close without fussing with a shifting grate or uneven ground.
Portable does not mean improvised. A well-designed fire pit is meant to travel, set up quickly, and work hard once it is there. The goal is not simply to get a flame going. It is to create a dependable center for warmth, food, and unhurried conversation.
Assemble a Portable Fire Pit on the Right Surface
Start by choosing the site before opening the carry bag or laying out components. Look for firm, level ground with enough open space above and around the pit. Dry grass, pine needles, loose leaves, deck boards, low branches, and tent fabric all change what is appropriate. Follow local fire restrictions first, then the clearance guidance for your particular fire pit.
A compact pit can look at home nearly anywhere, but its base still needs to sit flat. Test the ground with a gentle push from two sides. If it rocks before the fire is loaded, it will not improve once there is weight, heat, and a group moving around it. Move a few feet, clear small stones, or use the manufacturer-approved heat protection for the surface beneath it.
This is also the moment to consider wind. A light breeze can make a fire pleasant. Strong or inconsistent wind can push heat and sparks beyond the area you planned for. Place seating upwind when possible, leave a clear path around the pit, and keep water or an appropriate extinguisher close at hand.
Lay Out the Parts Before Building
Set every component on a clean ground cloth, tailgate, or stable surface. Most portable fire pits are designed around a simple sequence: base or legs, fire body, ash tray or airflow component, then a grate, spark screen, or cooking accessory. Looking at the whole system first prevents a common mistake - installing a part upside down, then forcing the next piece to fit.
Inspect each part as you go. Confirm that folding legs lock fully, nesting panels are not bent, and ventilation openings are clear of packing material or trail debris. If your fire pit has pins, latches, or thumb screws, make sure they are present and free of grit. Do not substitute a random bolt or wire for a missing load-bearing component. A portable system earns its convenience through precise fit.
Keep cooking components separate until the fire body is stable. Grates and adjustable supports often look similar to structural pieces, especially in low evening light. The product manual is the authority for the assembly order and weight limits, particularly for modular systems with multiple grill heights or accessories.
Build the foundation first
Open or attach the legs and base according to the intended orientation. If the system uses cross-braces, seat them completely before placing the fire bowl or body above them. A partially engaged brace may hold while empty, then shift under a load of wood.
Once the base is assembled, press downward lightly at each corner. It should feel planted rather than springy. On soft soil, a broad base may be enough; on uneven terrain, repositioning is usually safer than trying to shim the legs with rocks. Makeshift leveling can move as the ground warms or as people brush past the pit.
Seat the fire body and airflow parts
Place the fire body onto its supports without dragging it across the ground. Align tabs, channels, or locking points deliberately. If it does not drop into position with modest pressure, stop and check the orientation. Forcing metal parts can damage the fit that keeps the fire body secure.
Many premium portable pits use carefully placed air openings to encourage a cleaner, more controlled burn. Those openings need to remain open. Install the ash tray, air plate, or bottom grate exactly as specified, and do not line the fire chamber with foil unless the manual explicitly allows it. Foil can restrict airflow, trap heat where it does not belong, and make ash removal harder.
Add the Cooking Setup Only When It Fits the Plan
A fire pit and an open-fire kitchen can be the same piece of equipment, but only if the setup matches the meal. If the evening calls for warmth and a simple pot of coffee, a low, contained fire may be all you need. If you plan to grill, install the dedicated grill support and grate before lighting, while every surface is cool and easy to handle.
Adjustable cooking systems reward patience. A higher grate gives you more forgiveness with chicken, vegetables, and thicker cuts. A lower grate puts you closer to direct heat, which suits fast-searing foods but demands attention. The correct height depends on the fuel, the weather, and the food, not just the setting you used last time.
With a modular fire pit such as the WOOD&BURN Landmark system, use only the accessories made for its attachment points. A purpose-built grill, support, or pot holder does more than look considered. It keeps weight centered, preserves the intended airflow, and makes the transition from fire pit to camp kitchen feel natural rather than precarious.
Do not overload a grate because it appears sturdy. A cast-iron skillet, full Dutch oven, or large pot can create concentrated weight and shifting leverage. Check the stated capacity, place heavy cookware near the supported center, and avoid hanging cookware from an accessory not designed for that load.
Make the First Fire a Test of the Setup
Your first burn after assembly should be modest. Use dry, seasoned firewood sized for the fire chamber, beginning with a small bed of tinder and kindling. Build the fire gradually instead of filling the pit to the rim. This gives you a chance to see how the draft behaves and verify that all components remain stable as the metal warms.
Avoid accelerants. They create a sudden, unpredictable flame that tells you nothing useful about the fire pit's performance. A properly assembled system should draw air through its designed intake points and build a steady flame with dry fuel.
Watch the pit for the first 10 to 15 minutes. Look for an even burn, a stable base, and no unusual smoke pouring from seams that should be sealed by the design. A little smoke during startup is normal, especially with wood that is not perfectly dry. Persistent smoke often points to wet fuel, blocked airflow, or a fire built too densely.
There is a trade-off between a larger fire and an enjoyable gathering. More wood can mean more heat, but it can also mean more sparks, more smoke, and less control over cooking. Build for the size of your group and the evening's purpose. A calm, well-managed fire often keeps people around longer than a towering one.
Keep the Fire Pit Working Through the Night
Once the fire is established, resist the urge to move the pit. Even portable models become extremely hot, including parts that look removed from the flame. Keep children and pets outside the safety zone, and use heat-resistant gloves and appropriate tools for any adjustments.
Feed wood in small increments. Place logs gently so they do not dislodge a grate, screen, or cooking support. If ash begins to restrict airflow, wait until the fire is safely out and the unit is completely cool before emptying it. Never discard warm ash into a campsite bin, plastic bag, or dry vegetation.
When the gathering winds down, let the fire burn down naturally when conditions allow, then extinguish it thoroughly with water in accordance with local guidance. Stir the ashes carefully, add more water, and check for remaining heat. The pit should be cool to the touch before disassembly or packing.
A portable fire pit is at its best when setup becomes second nature: a level foundation, clear airflow, the right accessory for the meal, and a fire sized for the people around it. Take those few deliberate minutes at the start, and the rest of the night has room to happen.